
This was part of the same bathroom makeover featured in Project 16, and was illuminated by the same light source which was located up in the attic, well away from any wet areas.
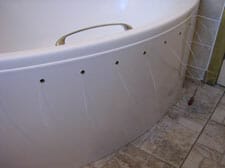
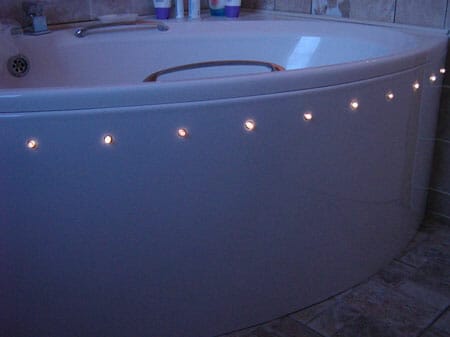
In this part of the project the aim was to add some interest to the curved front panel of a corner bath, using optical fibres terminated in little acrylic end fittings. As always, the project starts with careful measuring and marking of the locations of the individual light points.

end fittings can be drilled out.
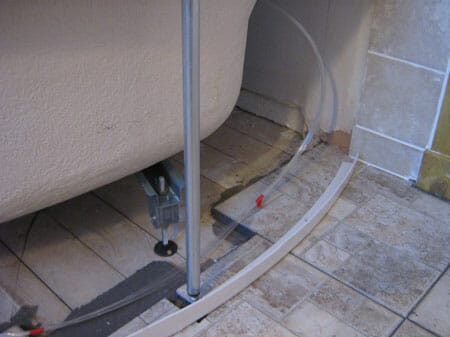
Whereas the fibres used in this bathroom’s coving lighting were 1mm diameter, thicker 1.5mm fibres were used for the bath panel lights, with the “mini-harness” of fibres being run up the wall (prior to tiling) and into the attic to the waiting light source.
the individual fittings in the bath panel.
The fibres were separated out from the bundle and one passed through each of the holes drilled in the bath panel.
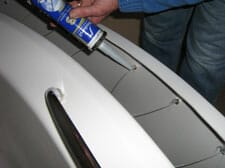
A dab of epoxy on each fibre end secured the fibre into the acrylic end fitting. To add a bit more class to the acrylic fittings, chrome plated trims were fitted into the holes in the panel, with the acrylic fittings then being seated in the trim.
Finally a dab of silicone was added at the back of the panel, just to be doubly sure that everything was secure.
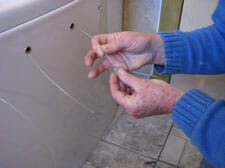
A single 1.5mm fibre is pushed through each of the holes in the bath panel, chrome-plated trims are added to the holes and then acrylic end fittings are fixed to each fibre.
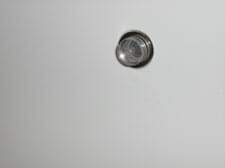
the acrylic end fitting now snug in its chrome trim.
This is a very simple installation, well within the capabilities of any DIY enthusiast, and the same principle can be applied to all sorts of applications.
In fact, this is essentially the same process as demonstrated in Project 4 – skirting lighting.