
This was one of those downstairs projects, where access above the ceiling to install the fibres wasn’t possible, so our customer Julie M opted for the prefabricated panel approach (see also Project 2, Customer Project 3, Customer Project 20, Customer Project 35 and Customer Project 38).
“We first saw a fibre optic lighting on a cruise and in building a new house, just had to have it,” says Julie.
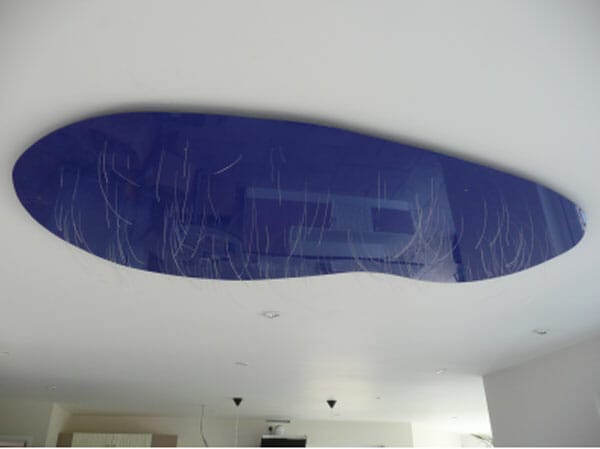
“We purchased a custom harness from Starscape, due to the length of fibres needed. The light source is fitted in the ceiling joists in the bedroom upstairs, over the feature. We were intending to have the star ceiling feature over the dining table. However, once we got the table in the house, we decided to put it elsewhere and the star ceiling had to stay where it was. Luckily the downstairs is all open plan and we had the space to put a piece of sculpture underneath it. It creates a great light and is a feature of its own. We will be putting the Christmas tree under it too.
“We were undecided as to the type of board to use for the project. Fomalux was suggested but we found it to be quite expensive. The place we went to see the Foamalux showed us a Dibond board – a bit more rigid and very light. It has a nice gloss finish – (one side more than the other). They quite happily cut a big piece off one they had for £20.

Rather than opt for a simple rectangular panel, Julie decided to be a bit more creative. “We played with pieces of string to make a good shape, but in the end, I found a roll of electician’s tape and made the shape in about two minutes. We used a jigsaw to cut the board. It cuts very clean, but left a mess on the floor as the board is two pieces of aluminium with an plastic core. So, bits of the core were everywhere. Best to do it outside if you can.
“I wanted to have constellations associated wih the Zodiacal signs of important people in our lives so found what I needed on the internet to outline the “stars.” Julie used a tip from Starscape of counting out grains of rice equivalent to the number of stars and placing them on the Dibond to get a feel for star distribution before committing herself to drilling holes. “All armed, I stripped off the protective plastic on the board and placed the rice creating my very own galaxy, making the constellations whichever way and size suited me and the board,” she explained.
“We then took a magic marker and made a mark for each piece of rice. For the holes that required two fibres (to create some bright highlight stars), we drew a circle around the mark.
“With that done, we got the drill with a 1mm drillbit and 1.5mm (for the bigger holes) and drilled the holes. What we didn’t expect was that the drill chuck made marks on the board (best to keep the protective film on as long as possible) so we had to turn the board over and use the back side (!) So, we now have a very unique galaxy as seen from the other side of the universe.
This actually turned out better in the end, says Julie, since she prefers the glossier finish on the back side of the Dibond.
It took about 45 minutes to put the fibres into the holes.
“Our builders came up with the idea of using rubber doorstops to fix the panel neatly to the ceiling. We held the panel up and outlined with a pencil where it was to go and the builders spread out the doorstops on the joists so they wouldn’t be seen from below once the panel was up. I think they used 5 doorstops in all,” she recalled.
“While they were doing that, said Julie, “they also cut a hole in the ceiling at about the centre of the area above the panel so that the fibre optic “tail” and common end ferrule could pass into the ceiling void where the light source was located. There was a hole cut in the ceiling above the middle of the star ceiling feature (again so it wouldn’t be seen upon completion) and the fibre optic tail was passed through this. With the electrician upstairs pulling the plug through and the help of a couple others, the light was lifted into place and small screws drilled into the doorstops.
“We didn’t cut the fibres – instead we pushed them back into the holes. Some of the fibres were damaged (bent) and they emit a little light from the side when that happens. Because the light is so close to the ceiling, we don’t need to have a border on it and the little glow of the damaged lights adds a new dimension.
“We love the star ceiling and everyone who sees it is amazed with it,” concludes Julie – “All good fun.”