Your source for fibre optic lighting
From our workshops in Northumberland we supply Fibre Optic Star Kits for professional or DIY installation, readymade Fibre Optic Star Ceiling Panels, Fibre Optic Star Cloths and much more.

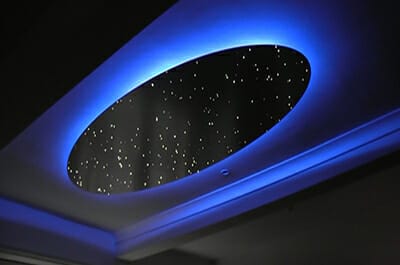
We have a range of star ceiling panels that will add a touch of magic to any room. All can be supplied with optional LED edge lighting to add to the ambiance.
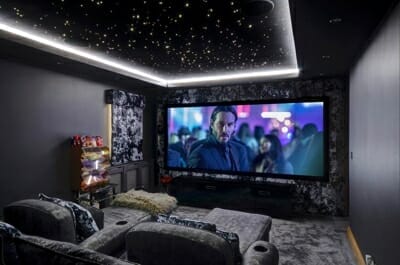
There's nothing quite like a star ceiling to add the finishing touch to a dedicated home cinema room, helping to make the room a special refuge from the everyday world, somewhere where you can really relax.
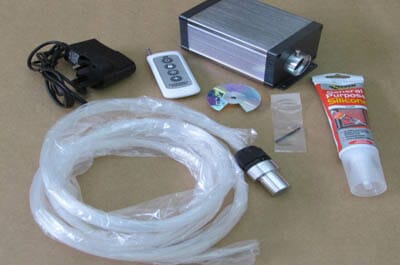
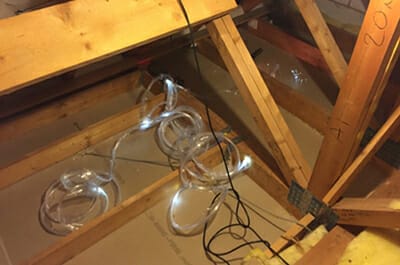
Making your own star display or other decorative lighting effect is easy, and most of our kits go to homeowners who are installing fibre optics in their own bedrooms or bathrooms. Watch our animation to help you understand the installation process.
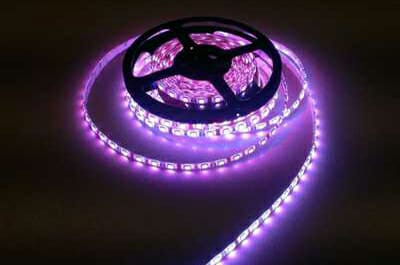
LED lighting for seamless linear effects. Suitable for coving lighting, skirting lighting, wall wash lighting and signage applications. Available in single colour and colour changing versions.
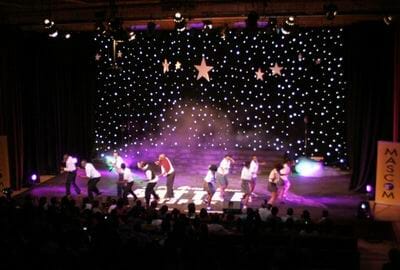
Star Cloths designed and manufactured by Starscape are used as stage backdrops in theatres, at rock concerts, in discos and special events such as weddings and parties, home theatre or in retail settings
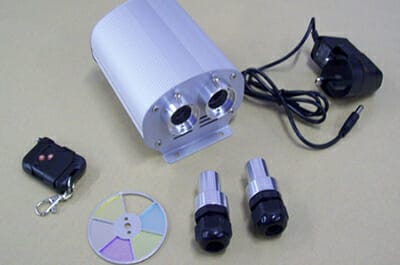
At the heart of a fibre optic installation is the light source (or projector). All our light sources are now LED-based which makes them super-economical to run, and we have versions available that change colour, twinkle, dim, strobe, are remotely programmable and DMX controllable.
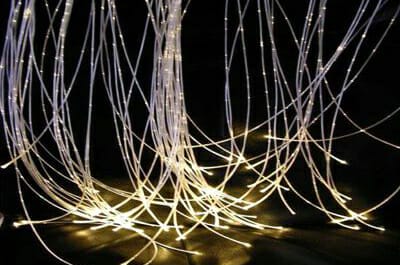
We stock several types and sizes (diameters) of Polymer (pmma) Optical Fibre and solid core light guide for a range of applications. Types include: end-emitting fibre, solid core side glow fibre, sheathed fibre and sparkle fibre.
Inspiration guaranteed - with well over 160 customer and Starscape pages to peruse, see how others have approached their own projects.