
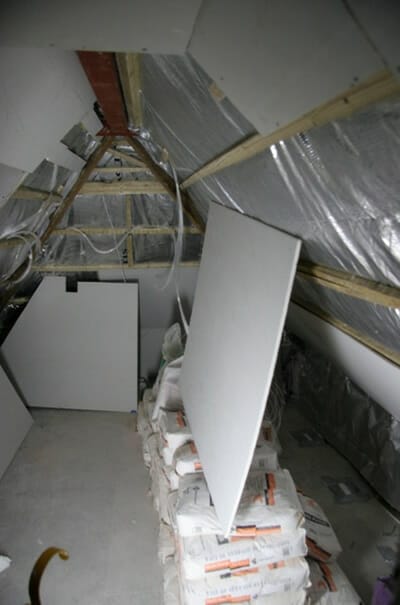
This is a very nicely executed star ceiling in a loft conversion, which demonstrates the prefabricated panel approach to making a star ceiling. Our customers Tim and Penny were converting a loft to create a new attic room and decided that a star ceiling would add a nice touch.
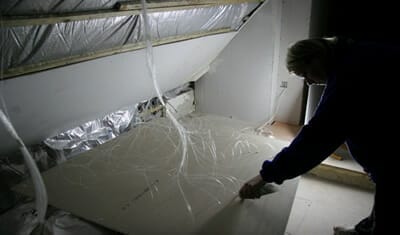
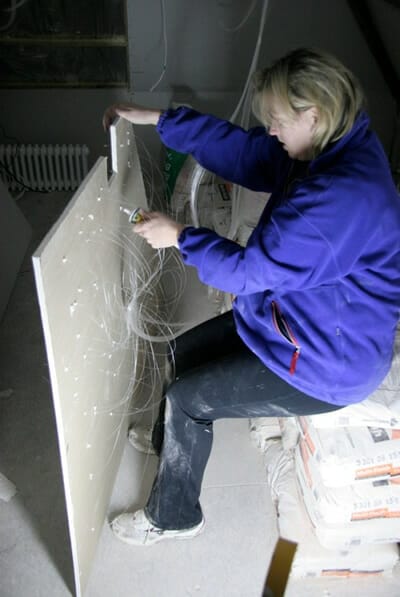
Since the plasterboard ceiling is fixed to the inside of the roof it was necessary to put the fibres into the plasterboard first and then fit the plasterboard in place. They started by cutting the plasterboard panels to the correct shape and size and then assembled bundles of optical fibre – or mini-harnesses as we sometimes call them – one for each panel.
Each mini-harness had to be led from the light source to the location of its specific panel, allowing a bit of slack to make for easier handling.
It’s best to use tapered edge plasterboard which is simply taped and filled at the joints, without the need for a plaster skim. A mixture of 0.75mm and 1mm diameter fibres was used, with the occasional brighter star being created by drilling a bigger hole and using two or even three fibres. Just a handful of these highlight stars can make a big difference to the finished look.
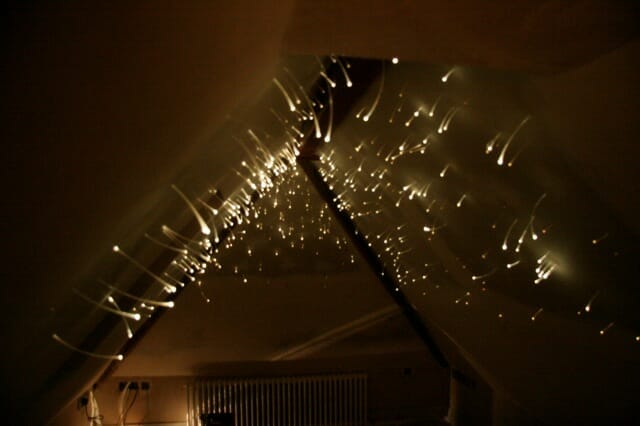
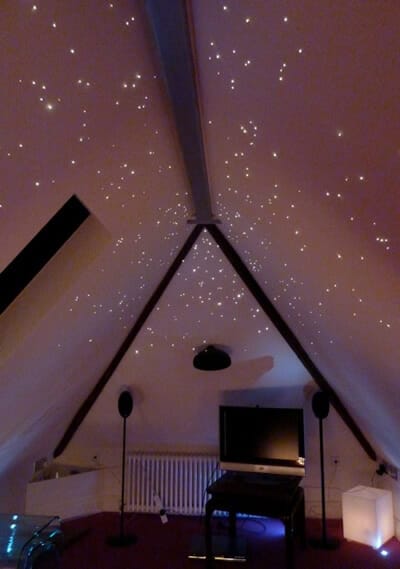
The photo of the finished job (above) shows just how well the project has been executed. The sloping ceilings give the starfield an immersive wrap-around effect and the distribution of the stars is particularly nice. You can see a few of those highlight brighter stars and also some nice little clusters. Tim and Penny weren’t afraid to have the occasional sparsely populated patch and the result is a display that looks very natural.