Here’s another nice nursery star ceiling. This was a project by Lee C who installed it as a surprise for his wife Dawn a few weeks before the scheduled arrival of a new son.

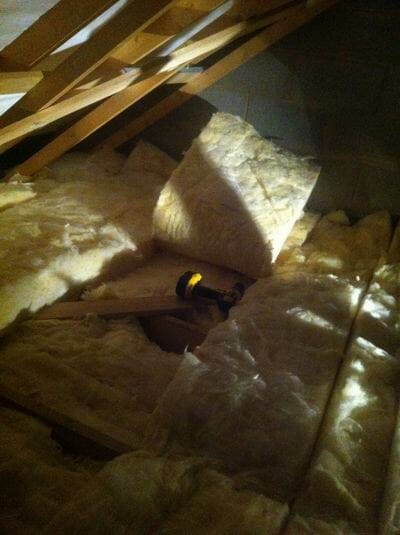
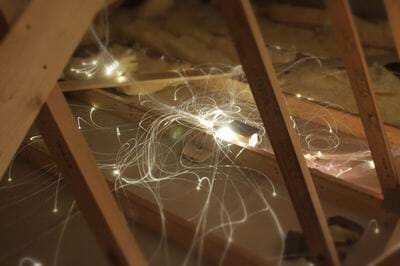
The installation was a fairly typical one, with the light source going in the loft above the bedroom, so the first job – and probably the least pleasant part of the project – was to move the fibreglass insulation away from the area of the loft where the fibres were to go. When installing the fibres, do remember to leave enough slack in them to allow the insulation to be correctly replaced.


The holes in the plasterboard can be drilled from above or below. In some respects it’s easier to drill from above, but drilling from below will allow you to keep track better of where your stars are. This is particularly the case if you’re planning to include some accurately-mapped constellations.

It’s not a bad idea to have the light source wired up before you start to install the fibres since it’s easier to keep track of the fibres when they are glowing, unless you have the loft so well lit that the sideglow effect of the fibres is not visible.
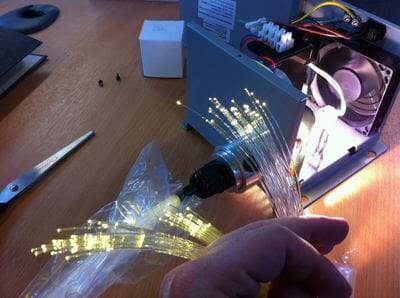
Lee used one of our standard Orion (kit 1) star kits, which has 120 fibres in lengths ranging from 1.5 metres to 2.5 metres. The fibres are in two diameters – 0.75mm and 1mm – and we recommend that a handful of really bright stars are created by drilling slightly bigger holes and putting two or three fibres in them. Three or four such stars will help to enhance the sense of depth in the star field.
Lee did a neat job of installing his star ceiling and is very pleased with the results. “Two weeks after the install both the wife and I still go into the room just to watch the lights at dusk – it’s amazing,” he says.
