t: 01289 332900 e: info@starscape.co.uk

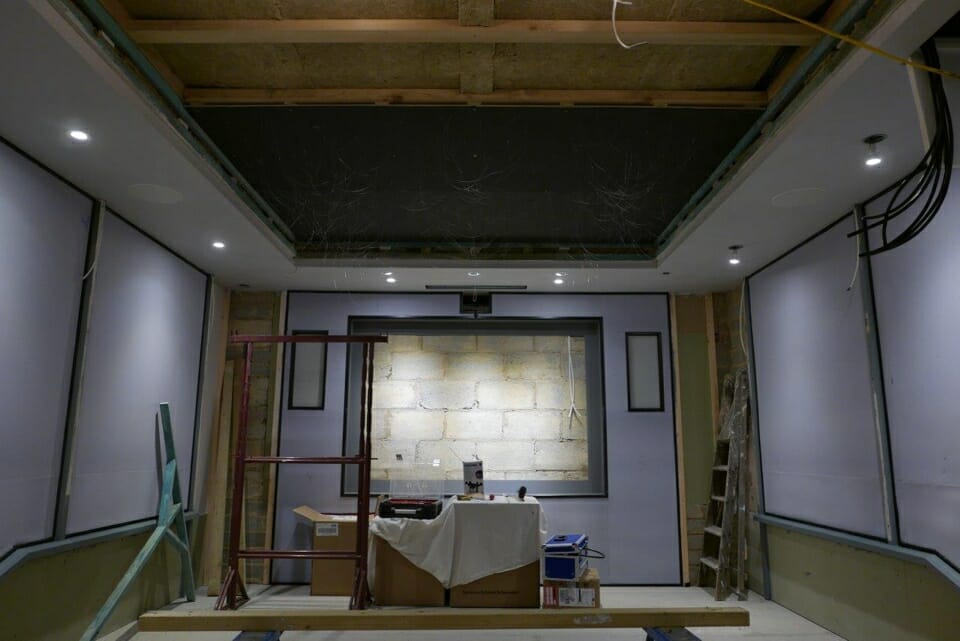
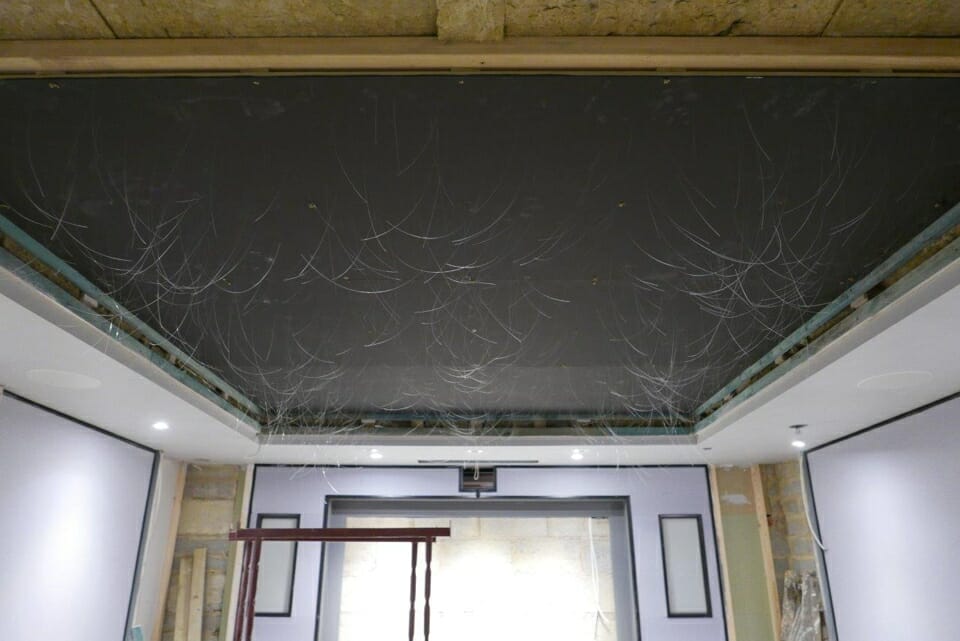
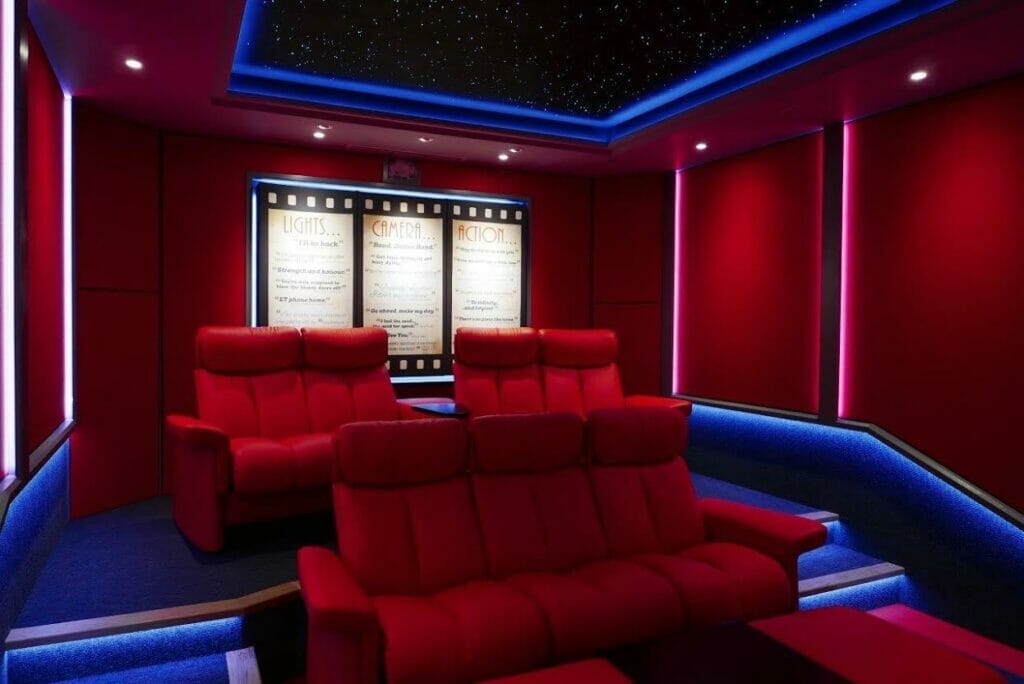
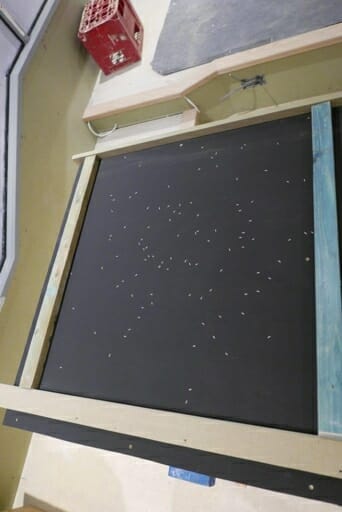
Our customer Robert Treadwell documented his star ceiling panel project in a dedicated home cinema room.

Robert wrote: Divide panel into thirds and create random star pattern using grains of rice. *As we recommend using rice as easy way to create and optimise the look of a star field, it was nice to see Robert actually employing this method!
Mark rice location with Tipex pen.
Drill holes using Dremel with plunge router attachment and 0.9 (.5 &
.75mm fibres) ,1.1 (1mm fibre) & 1.6mm (1.5mm fibre) bits.
Mark back of MDF with marker pen, blue – 0.5mm fibre, red – 0.75mm
fibre, green – 1mm fibre and black – 1.5mm fibre.
Sequentially install fibres. 3 x Infinity mix per panel.
Each black sheathed bundle is an Infinity ‘tail’ with 100 mixed diameter fibres.

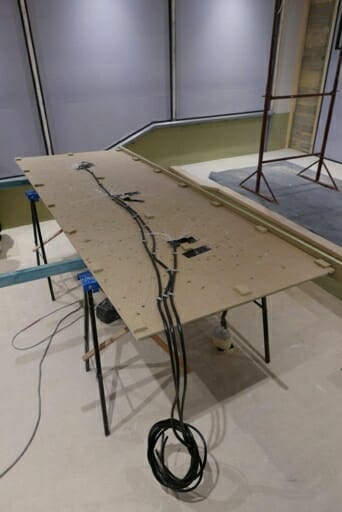
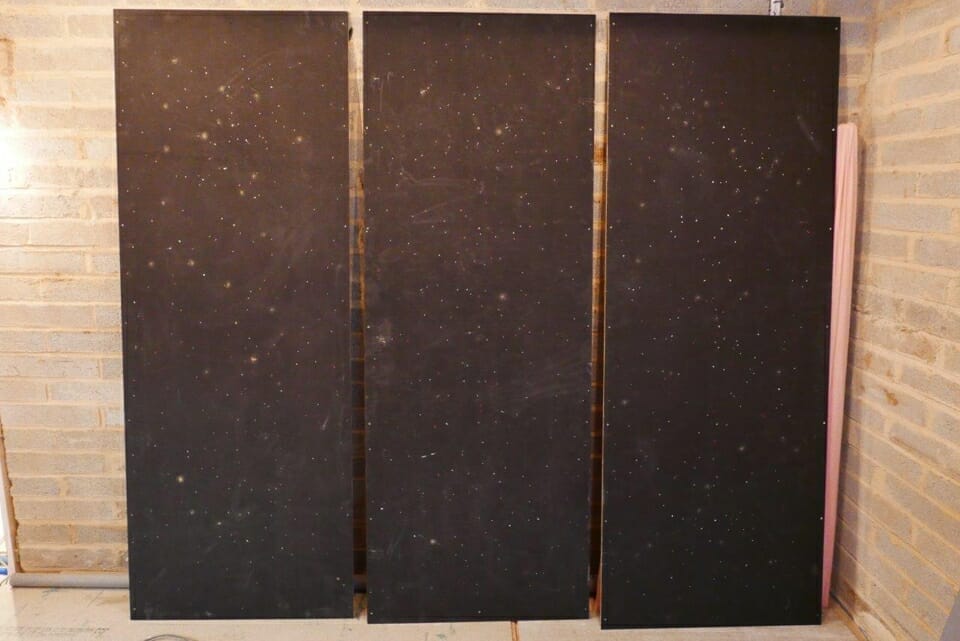
The three tails (300 fibres) in place. In this project Robert

bought his Infinity mix tails on the coil and cut as he went. This

meant that he had to fit a common end ferrule to the tails as

the interface with the light source. These days (2018) it would be

more common to use our system of optical joints. In such a project 

the tails fitted to the panel would terminate behind the panel in small

ferrules, ready for connection to longer carrier tails from the light source.

Fish fibre tails over coffer timbers.
 Lift panel into position and screw fix.
Mark and drill next panel.
Testing the first panel by holding the ends of the tails up to a handy downlight.
Stars laid out on other 3 panels and drilled.
Two panels fixed.
3 x Fibres installed on 3rd panel.
Three panels fixed. The dangling fibres will be snipped back flush to the surface in due course.
The finished project in all its glory – a DIY home cinema which any professional installer would be proud of.