If you’re planning a home cinema and want a star ceiling then – in our humble opinion – you can’t do any better than our Infinity system of prefabricated star panels. However, they’re made to a specification designed for the higher end of the home cinema sector and may not suit every budget. So, if you like the look of Infinity, but can’t afford it, or just prefer to go down the DIY route, you can buy the special fibre mix which we use in the Infinity panels and have a go at making your own high density star panels.
This was the option selected by customer Dean Gimbert who opted to use 5 “Infinity mix” tails so as to give himself a display of 500 stars. Now that he has his home cinema room completed, he has very kindly taken the trouble to send some feedback and photos.
We’ll let Dean describe the methodology in his own words.
“As promised, here are some photos of my project. All can say is, they don’t do it justice, I have worked hard to create the whole room, but all any visitors are interested in is the star board. I’ve listed what the rough order of works was. I hope it all makes sense.
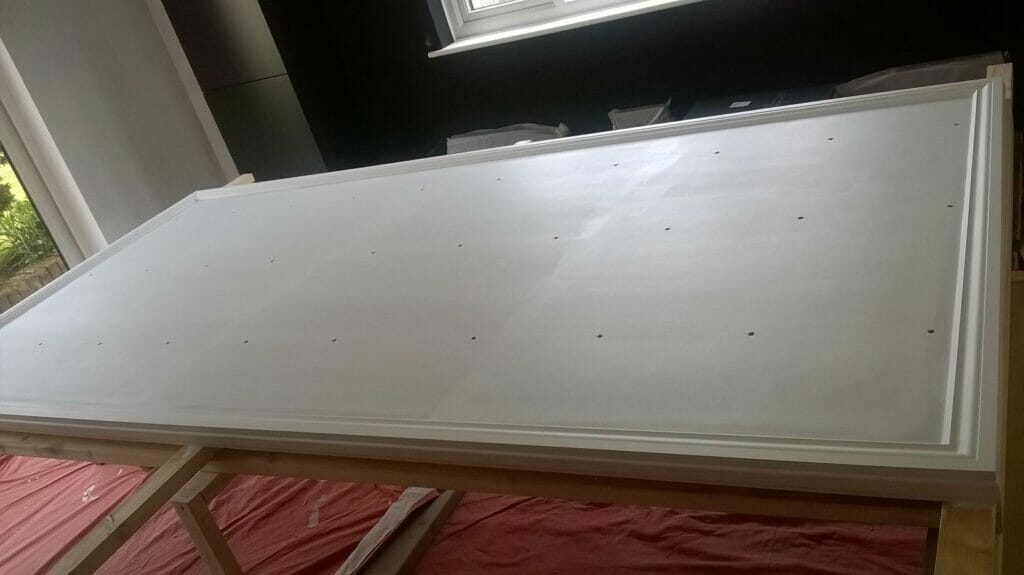
- I used a 3m x 1.5m x 18mm MDF sheet.
- I framed the back with 70mm x 18mm prepared timber to create space for the fibres.
- I framed the front with MDF architrave.
- I used timber trims to hide the raw edge of the MDF.
- I marked and drilled pilot holes where the joists would run for fixings later.
- I fitted small pieces of the 70mm x 18mm timber on the back of each pilot hole.
- I undercoated with MDF primer and then painted with a midnight blue emulsion.
- I spread 500 grains of rice (to correspond with 500 fibres) and once happy with the positions, marked each with a dot.
- I drilled the holes.
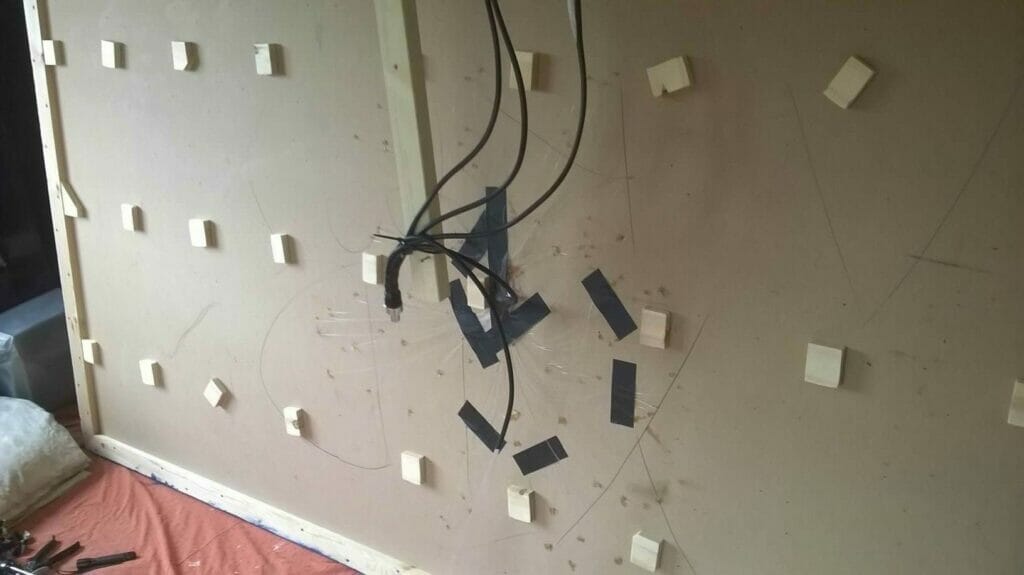
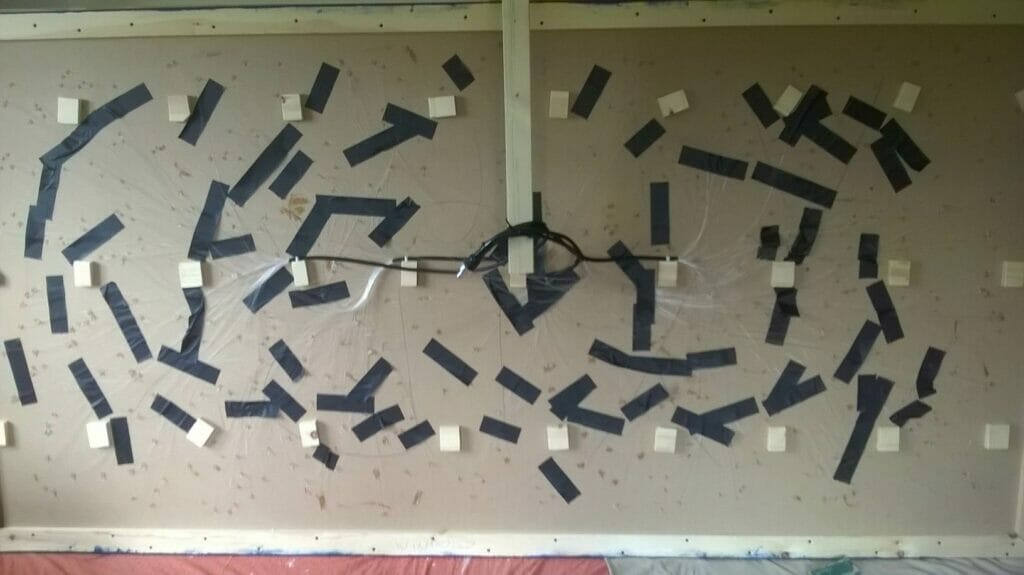
- I propped the board on a frame against the wall as to allow access to both sides.
- I run the fibres, added clear silicone to each on the point of entry and taped fibres into position.
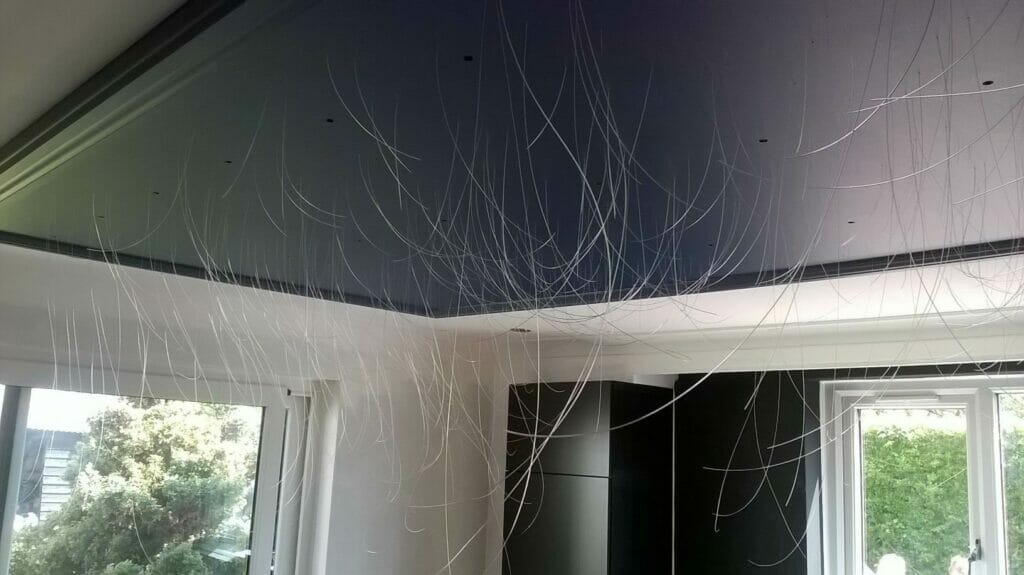
- I fixed board to the ceiling (with help from 4 friends).
- I cut excess fibres as close to the board as possible.
- I filled the holes and touched the paint work in.
I built the board using materials that allowed me to get a finish where there was no joints anywhere, as this would be difficult to hide. I’m very happy with the finished article, but my only regret is that it is near on impossible to blend the paintwork in where the fixing holes needed filling.
Thank you for all your help at the beginning of the project, your time was really appreciated.”