Thanks to Seb Francis for this comprehensive and well documented project.
Seb created the starfield generator we feature on the site. The generator is not only fun to use but creates great star patterns. Try it here.
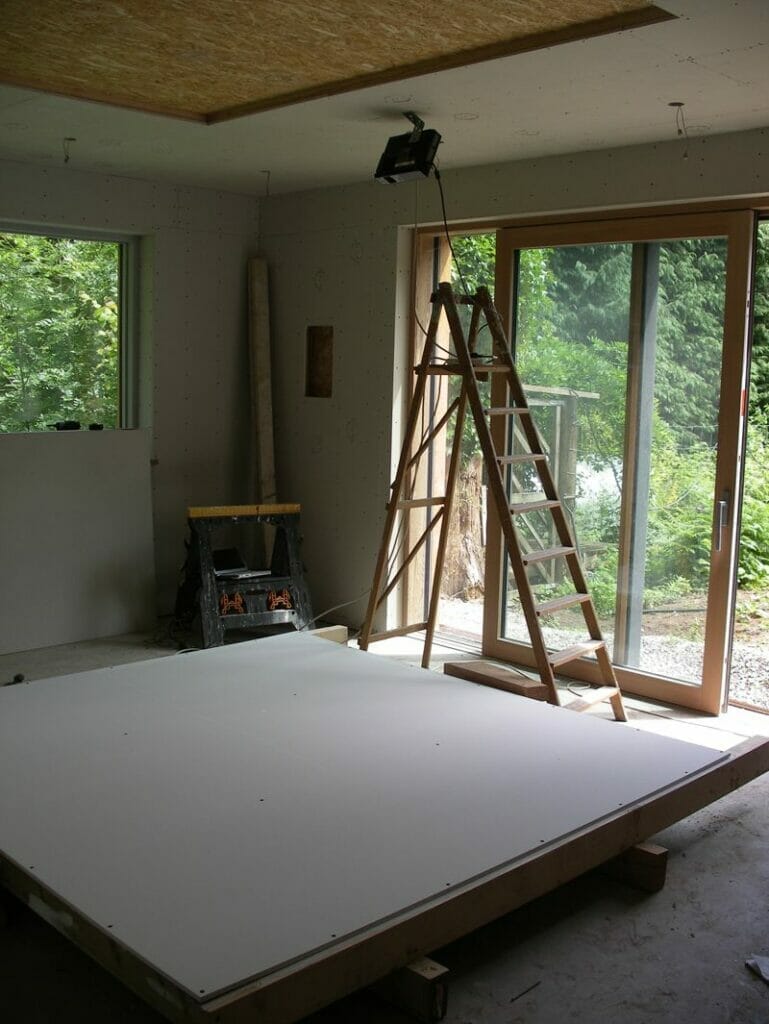
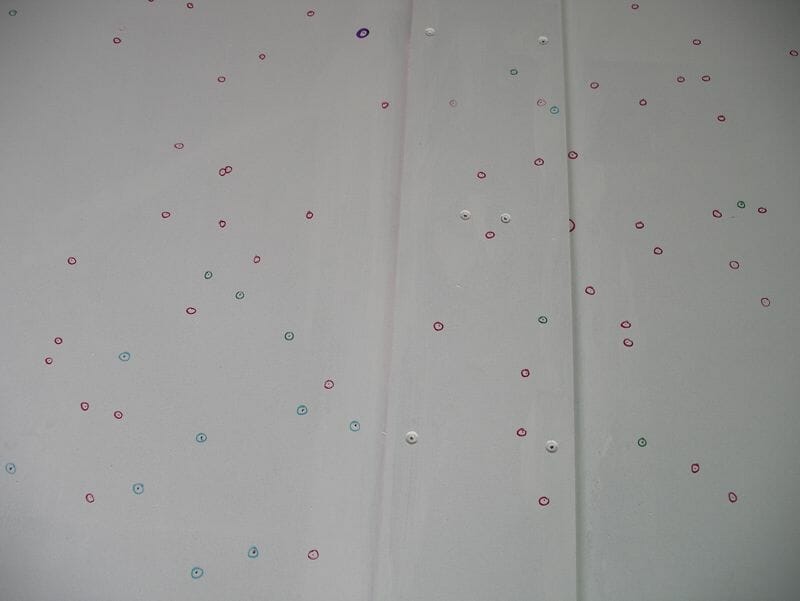
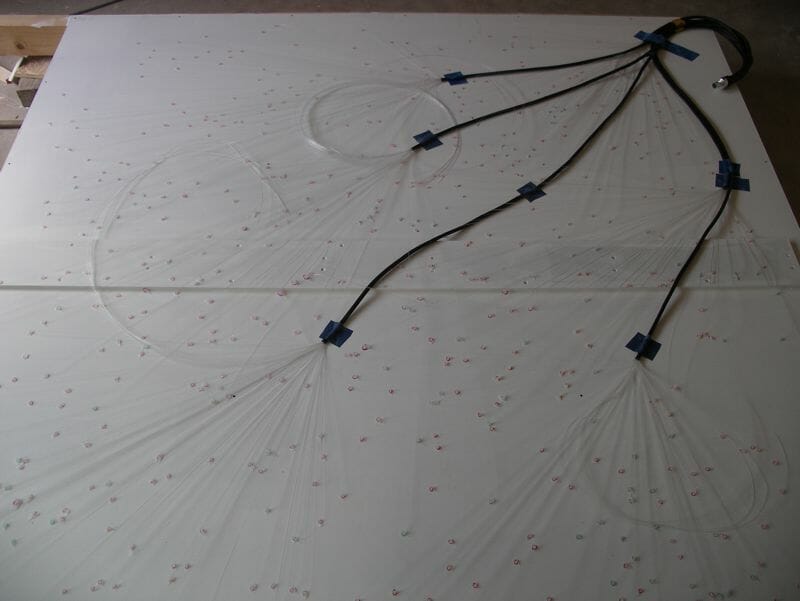
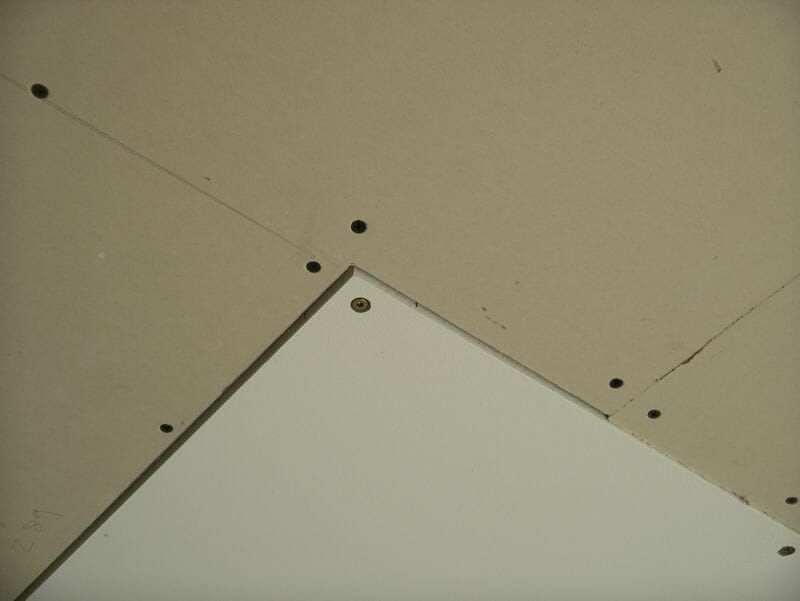
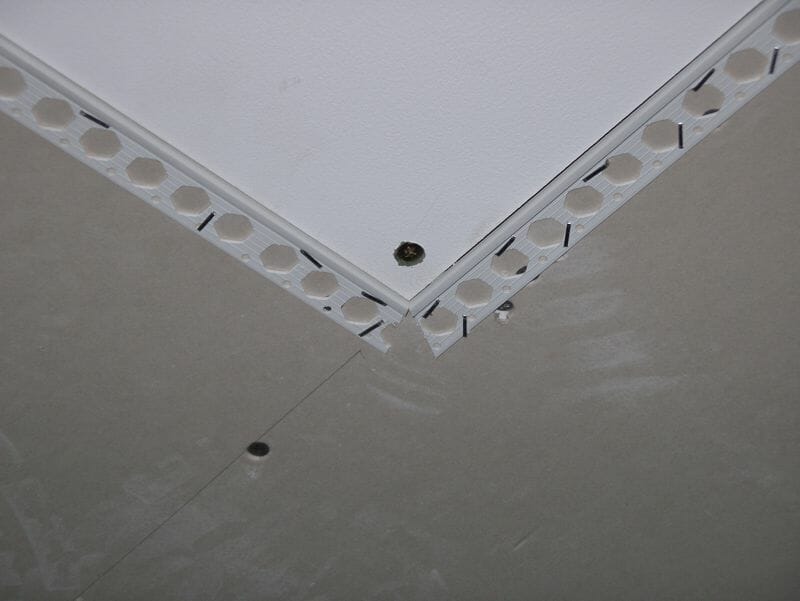
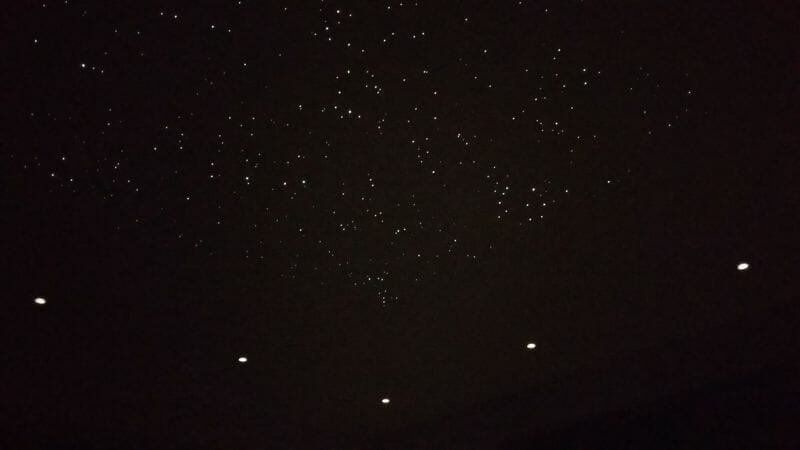
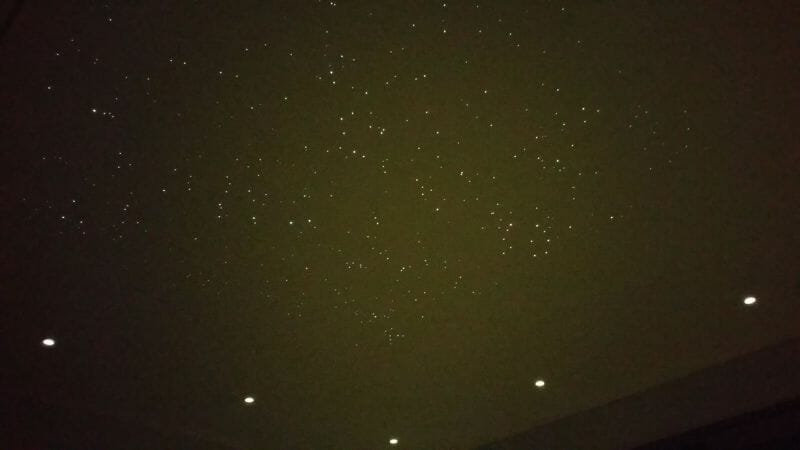
Seb writes; “The larger fibres in the starfield were placed based on actual constellations, while the rest were generated with some software I wrote (“Starfield Generator”). There are approximately 600 fibres/stars – actually a few less as I found that the ‘Infinity mix’ had a few too many of the larger fibres (I understand the Infinity mix has since been updated to a better balance). To drill the holes I used a Dremel Plunge Router attachment. It’s not exactly a precision bit of kit, but it made it fairly easy to drill tiny holes in the 15mm (30mm at the joint in the middle) MDF without snapping too many drill bits. I think I went through about 3x 0.6mm bits when drilling the holes for the 400+ 0.5mm fibres. I initially allowed a 1mm gap between the panel and the plaster stop beading, and filled this with a flexible adhesive. This produced an almost invisible joint, but unfortunately the movement of the MDF proved to be too great for such a small gap, and cracks soon started to appear. So I opened up the gaps to around 4-5mm (using a rail saw on the ceiling), and then refilled with flexible adhesive (Everbuild Stixall). This makes the joint more visible, but seems to be more robust. The twinkle wheel supplied with the light source did not twinkle in a very pleasing way – it turned whole blocks of stars on and off as it turned rather than giving a gentle/realistic twinkle. I replaced the holey disc with a piece of fine metal mesh which works much better. After the fibres were trimmed flush, the panel was given another 2 coats of white paint. This makes the fibres completely invisible when the stars are turned off. Even with the light source on the lowest setting, they are still plenty bright enough in a dark room. Perhaps a bit too bright – I need to have a look at hacking the light source to provide more dimming range. The next phase is to air-brush some nebulae over the whole ceiling using UV paint. This is white under normal light, so should be invisible until the UV LEDs are turned on. This will help the starfield further blend into the whole ceiling.”